Seeding
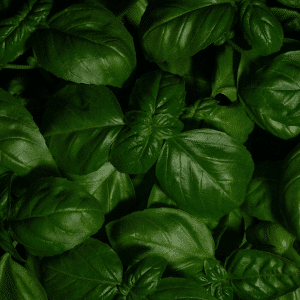
Basil requires a moderate amount of space. To plant basil in your grow bag, make three evenly spaced holes in a triangle formation in the soil in your grow bag. Place 2 seeds in each hole, about 1/8″ deep.
Growing Conditions

2 Seeds
⅛” deep
70°F – 85°F
Warm/Hot
6-8 Hours
Full Sun
70 Days
to Harvest
Harvest
Start harvesting leaves when plants reach 10″ tall. Regularly harvest branches to encourage plant growth. Cut off flowers that start to grow to keep basil tasting great and encourage plants to grow larger.
Garden Tips
Basil can be easily propagated from cuttings. Simply cut a stem from a mature basil plant, remove the bottom leaves and place it in water until roots develop, then replant them in another grow bag or container for an endless supply of basil.
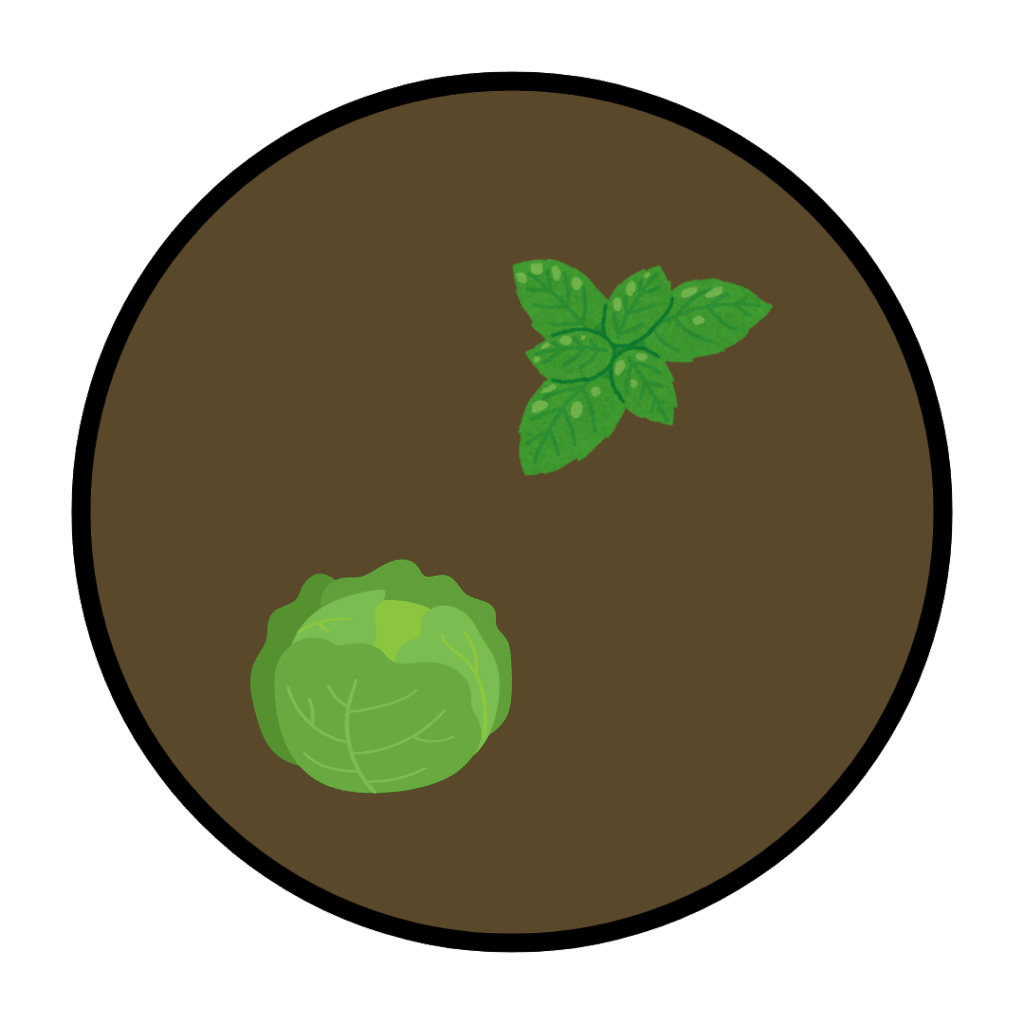
Plants well with... Lettuce
In warmer weather, lettuce and basil can grow well together in the same grow bag. Follow this planting pattern.