Guía de plantas: albahaca
Basil is an easy herb that will take your garden—and your kitchen—to the next level.
Phase One: Planting
There’s plenty of beauty to be found in basil, but maybe the best bit is that you can grow it all year long inside and go big outside in the garden when the weather is warm.
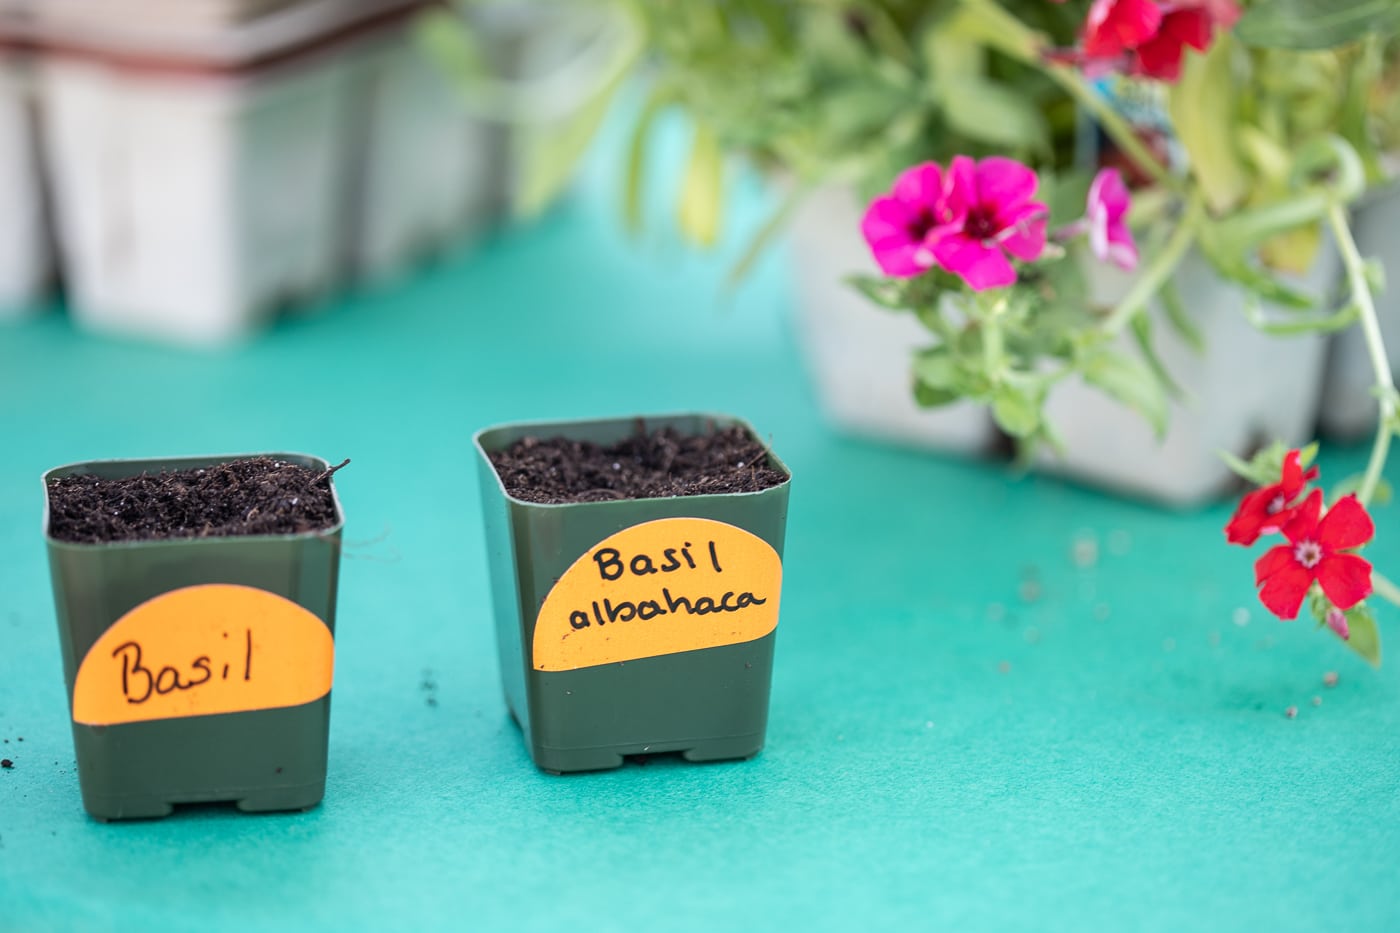
- Take your materials out of the peat-pot, set the seeds aside.
- Put the peat-pot with the coin shaped disk of compressed soil inside it into a bowl.
- Pour water over the soil disk and let it soak to absorb water and expand.
- Once fully expanded, drain the excess water and fluff the soil up and then press it gently down to make a level planting surface.
- Open the seed pack and sprinkle all the seeds evenly over the surface of the soil.
- Pat them down to make sure they are fully in contact with the soil but don’t bury more than ¼” below the surface of the soil.
- Place your little seed starting kit in a warm place and observe daily for sprouts.
- Your basil will sprout about 5 – 10 days after planting.
- Once leaves appear, move your basil seedlings to the sunniest location you can find. They can be outside but must be protected from cold temperatures.
- Basil needs about 6 – 8 hours a day of direct sunlight, no sunblock needed. Avoid letting your soil dry out, water in the mornings, whenever the soil is dry.
- Once your plants are about 3″ tall with several leaves they are ready to move to a more permanent home.
Phase Two: Seedlings
You’re watering. Your plants are getting sun all day long. You’re uttering gentle motivation to your plant when nobody’s around. This, friends, is the road to basil glory.
- To move your plant to a larger container or into some garden soil, make sure it is well watered at lease a few hours before transplanting.
- Find a large container (at least 2 gallons) with the best organic potting soil you can get. Or you can find a spot in the garden where there will be at least 12-18 inches of space for the plant to grow around it and mix in some compost or organic fertilizer. When mature this little basil seedling can grow over 3 feet tall and 3 feet wide!
- Gently tear the peat pot so roots can easily grow.
- With a scissors, clip out the weakest plants only leaving one to grow larger. (You can eat the trimmings.) Another way to thin plants is to gently separate your basil seedlings from one another being super careful to not disturb their roots too much or crush their stems. In the end you only want one basil plant spaced 12-18 inches from its neighbor.
- Place the basil seedlings in their new home so they are in the soil at the same depth they were growing in the cup. The roots should all be in the soil and the stem should not be buried deeply.
- Water that newly transplanted basil and dream of the pasta recipes in your future.
Phase 3: Growing and Harvesting
Your masterful prune-grow-prune pattern should yield some pleasing results. Remember, harvesting is good for basil. So go ahead, more caprese salads!
- Once your baby basil has grown up to about 8 inches tall, you can pinch off the top set of leaves. This will help the plant branch off and grow more branches with more leaves.
- You can repeat this harvesting/pruning process every couple of weeks. More leaves = more basil = greater happiness.
- After about six weeks, plants will start flowering. Continue to harvest with gusto to prevent the plant from flowering. Flowering makes the leaves taste a bit bitter and reduces leaf growth.
- If you’re unavoidably detained, and some flower stalks sneak past your gaze, it’s alright. Simply cut the stem about 1” below the flower to encourage more leaves to grow.
Phase Four: Preserving the Harvest
You can harvest as long as your basil is tall, leafy, and handsome. But as temperatures drop, cut off some end shoots about 8 inches long and root them in water to pot inside later.
- For those growing their basil outdoors, about two weeks before you expect frost is a good time to collect your shoots to reroot indoors. Basil hates the cold, and once temperatures near freezing your basil will turn black and die.
- As you choke back the tears and harvest the last of your crop, try air-drying your basil by hanging small, loose bunches upside down.
- Or, store basil in the freezer. Just tear it up, place it in an ice cube tray, and pour olive oil over it. When you need a dash, toss a cube or two into whatever you’re cooking.
- You can even purée washed basil with some water and freeze that as well.
- Who’s got basil for months? You do. That’s who.


