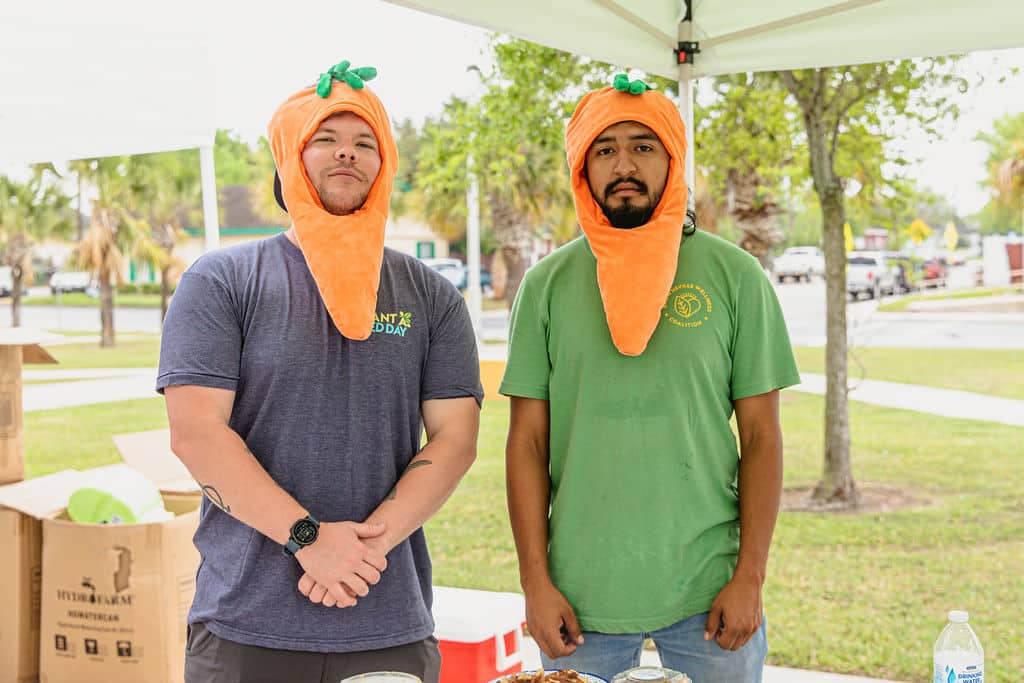

As healthy as they are tasty, carrots are chock-full of beta carotene, fiber, vitamin A and
more—that means plenty of health benefits.
Phase One: Planting
Carrots are a great starter vegetable. In early Spring, you’ll want to get an outdoor
seedbed ready by tilling and weeding your soil in preparation for planting.
- Try to avoid planting in rocky or dense soil, as your carrots need a little wiggle room to
grow. Toss out any rocks or debris you find. - Loosened soil also helps with drainage, AKA great carrots!
- Loosen to a depth of 12” and add compost or sand for even better soil!
Phase Two: Seedlings
You’ve planted your carrots—nice work. Next step, water, water, water!
- Carrot seeds are tough, and that means they need to drink extra water—maybe a lot of
extra water—compared to other seeds. - To make sure your seeds aren’t going thirsty, check in on them daily—if your soil feels
dry, pour up! - As long as you keep up the watering, expect sprouts to make an appearance about 1-3
weeks after planting.
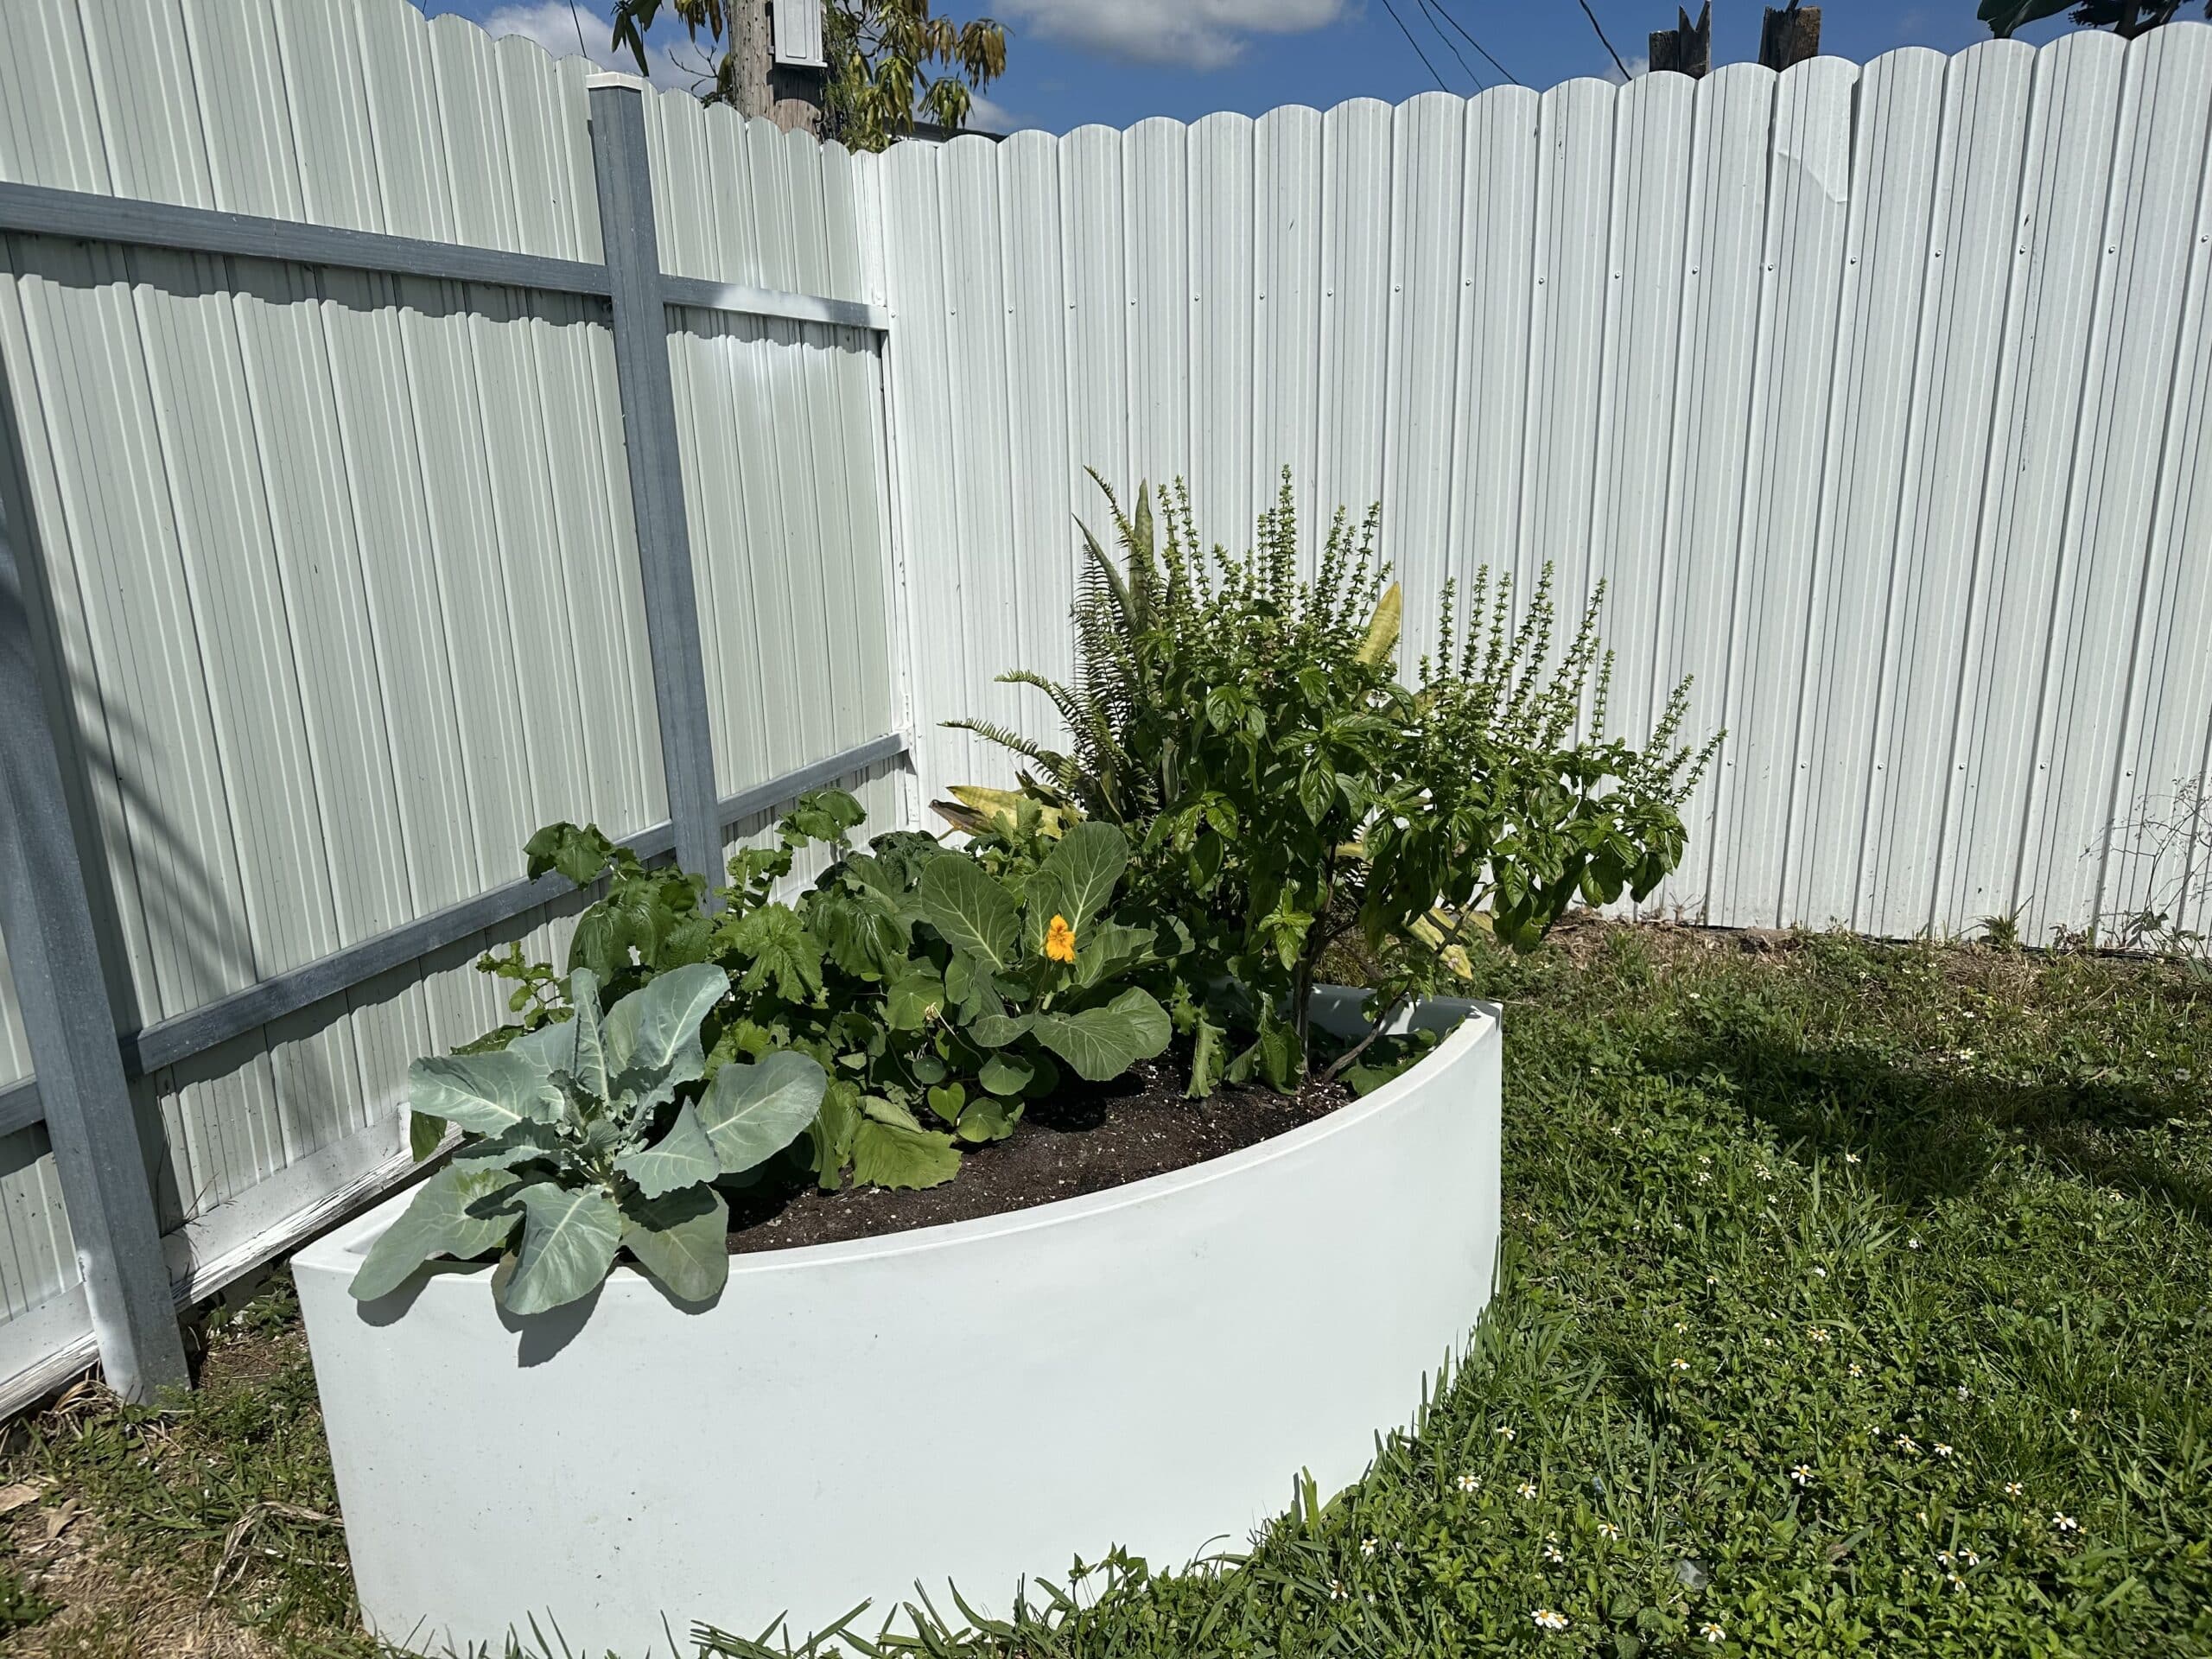
Phase 3: Growing
Remember what we said about wiggle room for your carrots? They have about eight more
weeks to grow after sprouting, so like any teenager, give them their space.
- Make sure carrots have about 1.5”-2” of space between them.
- Be gentle—don’t tug on your carrots and wreck that lovely soil. Just give them a
trim near the sprout to thin them. - You can always pull out a Test Carrot (official farming term) and check to see if they’re
getting close to maturity.
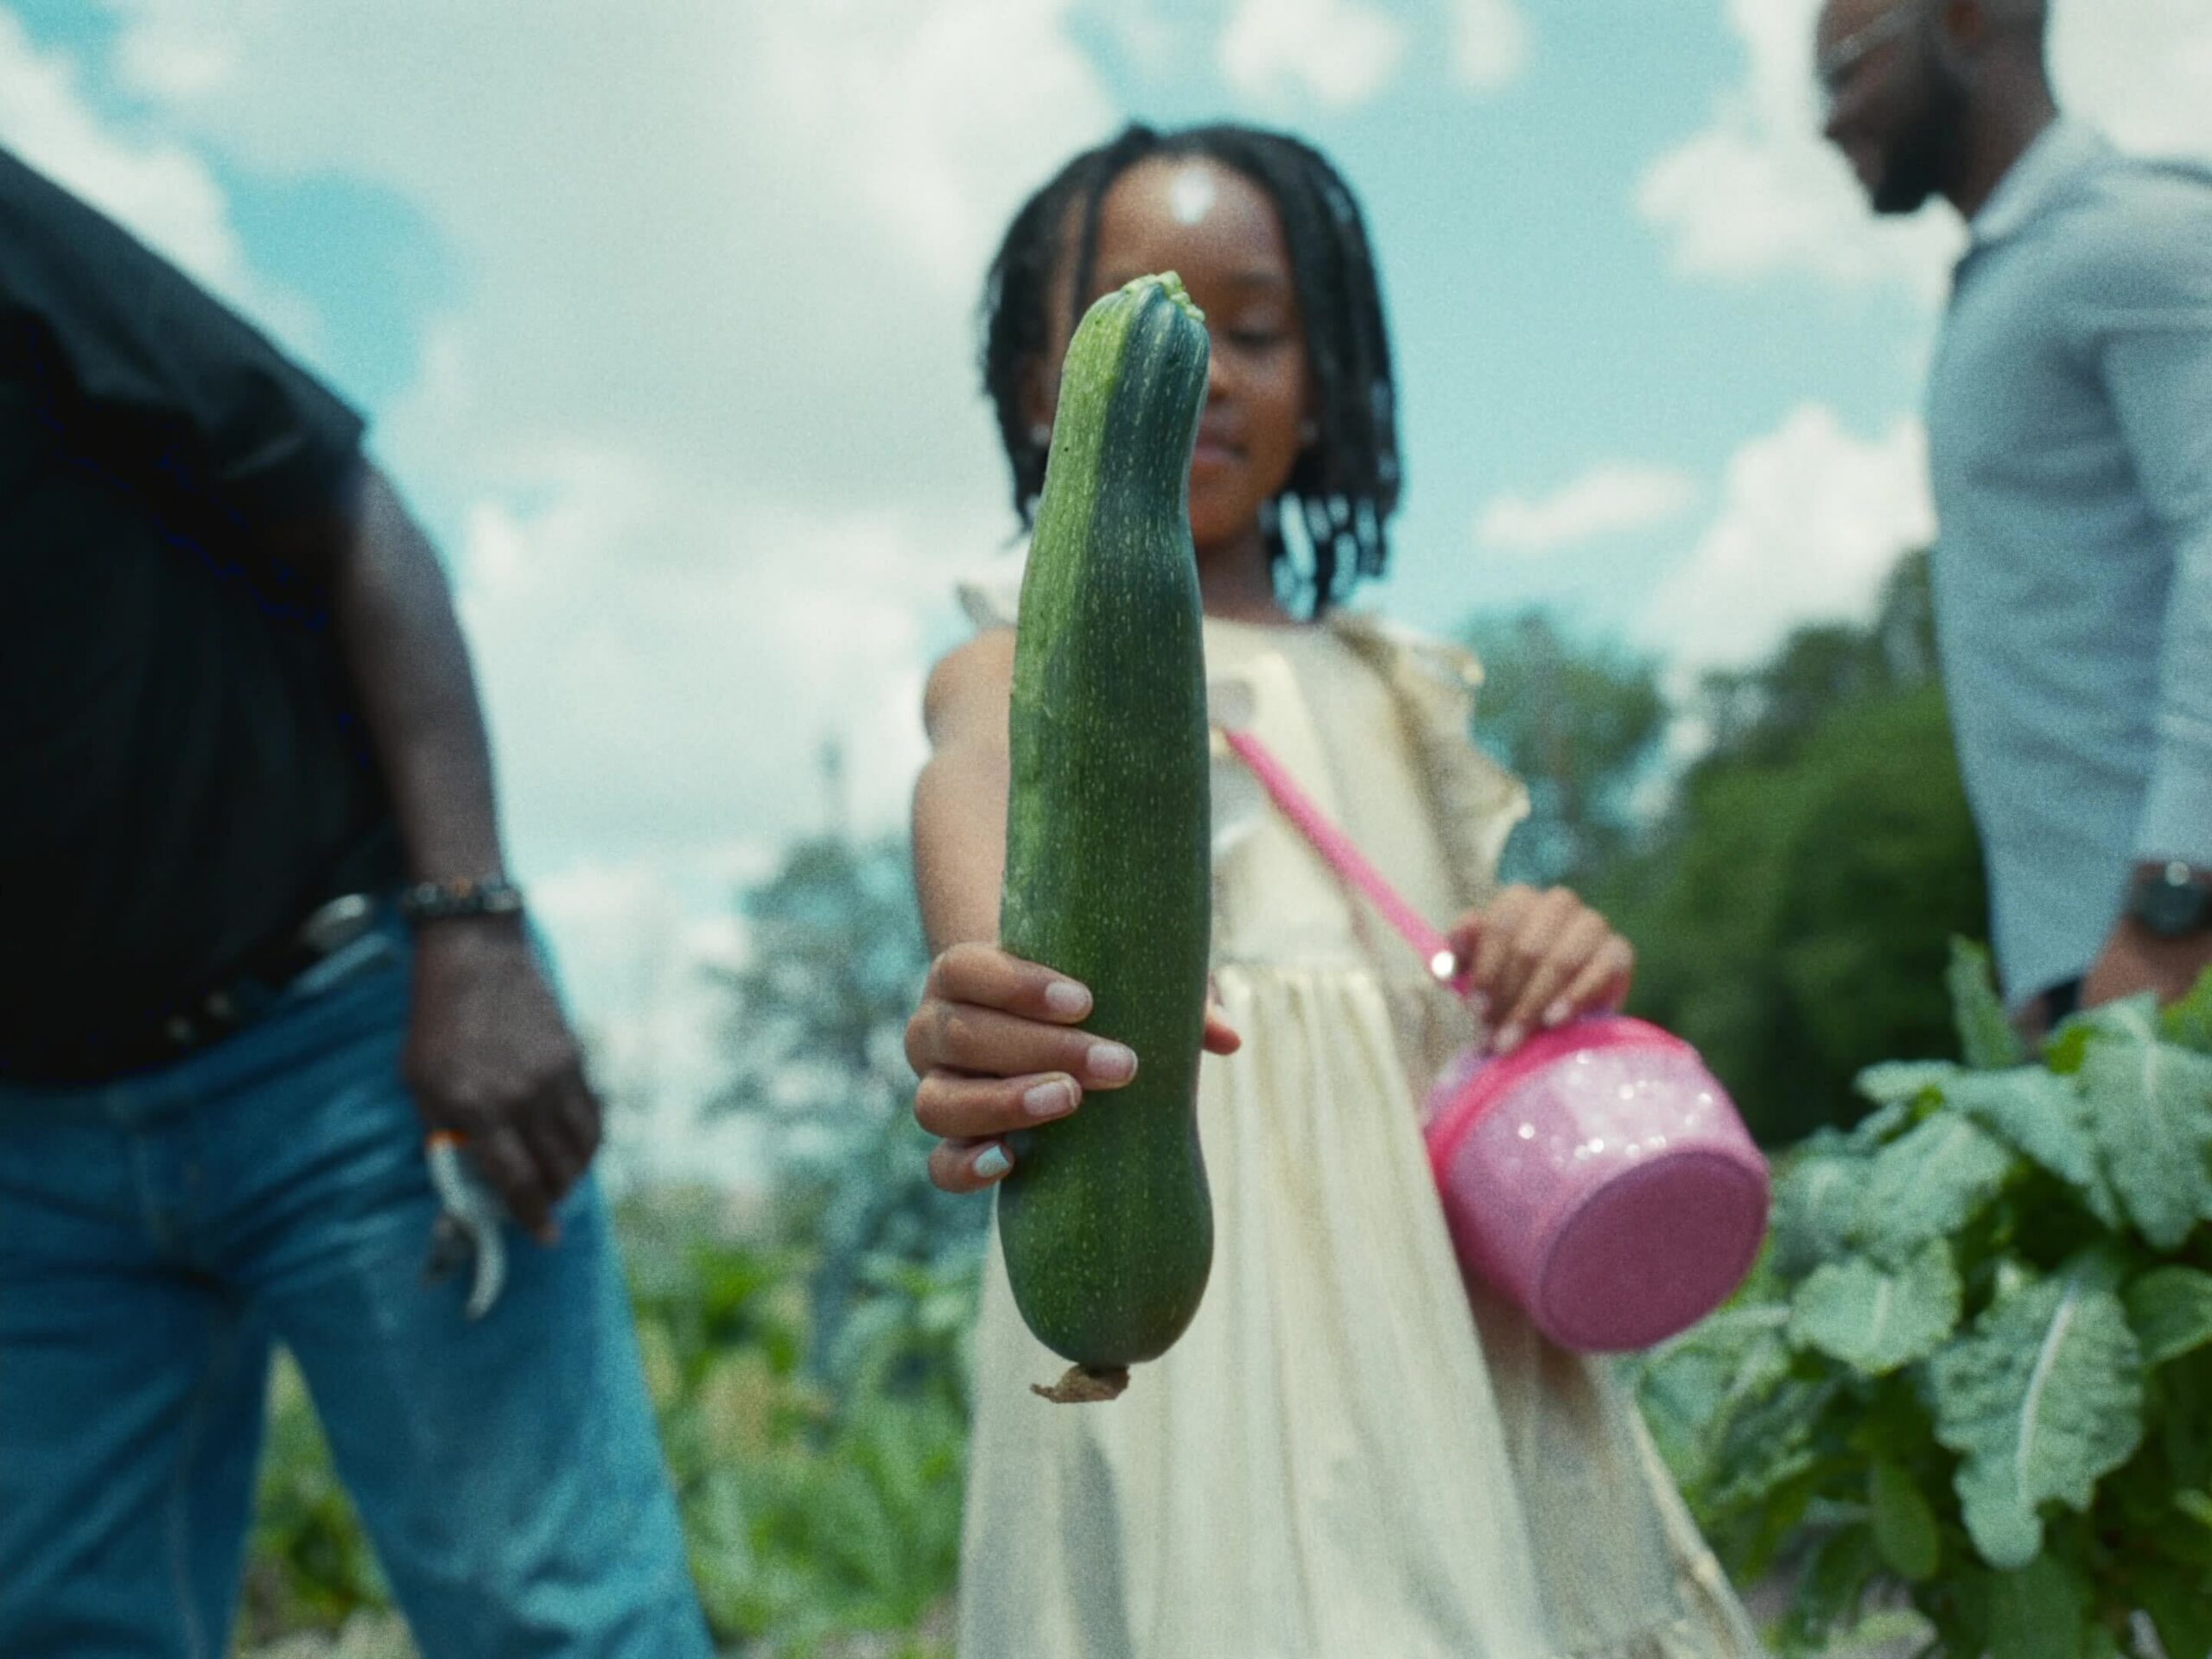
Phase Four: Harvest
Ladies, gentleman, farmers: The time has come…It’s harvest day! You can dig them all up
now or consider leaving some a little longer to taste-test which you prefer.
- Harvest using a garden fork and dig down to carefully lift the roots from the ground, or
gently pull them from the soil. - Cut the tops off, about 1⁄4 – 1⁄2″ above the root shoulders, and give them a shake to get
the dirt off. - Avoid cutting the root ends or root hairs.
- You can store your carrots with some bits of soil clinging to them (au naturel) or give
them a bath and air dry before storing. - Simply line up similarly sized carrots in a row and tuck them into a freezer bag before
putting them in your fridge’s crisper.