Resource Bundle Plant a Seed Day Activities & Resources
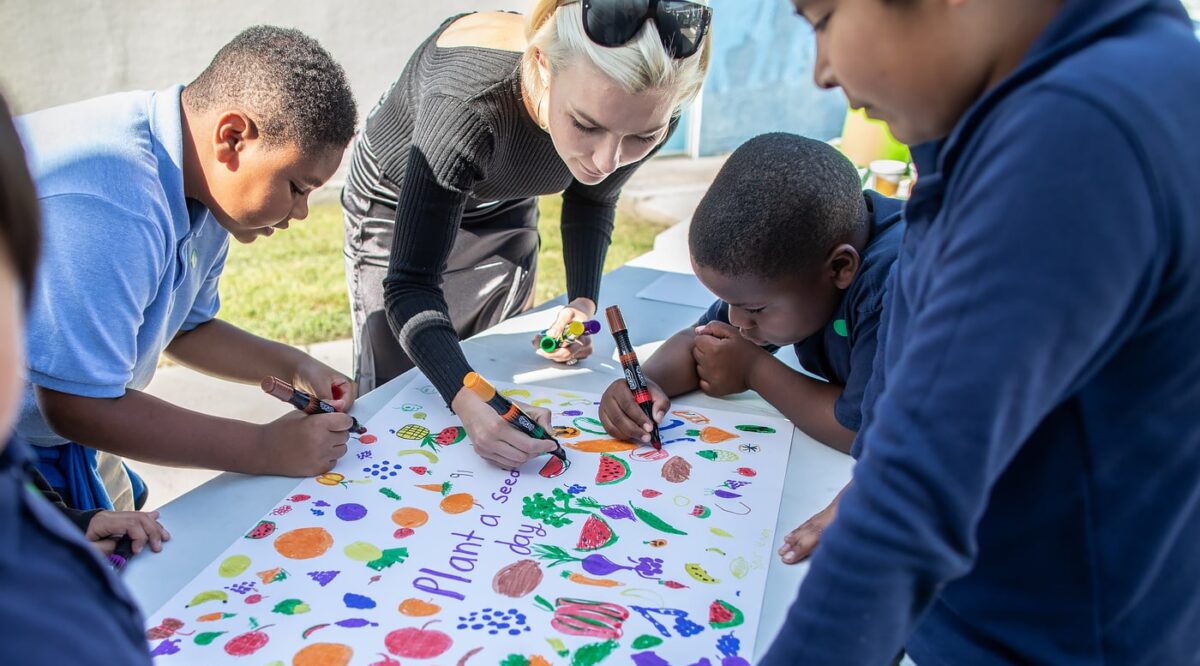
Everything you need to get growing this Plant a Seed Day.

Everything you need to get growing this Plant a Seed Day.
Our library is full of curriculum, how-to’s, and tools for educators.
This month, we encourage our Big Green community to take time to honor the historical and cultural significance of Juneteenth. This holiday commemorates the delayed freedom of enslaved Black Americans in Texas, who learned of their emancipation more than two years after it was legally granted. Check out our reading and resource list below.
In honor of Arab American Heritage Month, we're sharing this traditional karak tea recipe that you can make at home using herbs from your garden!
We've got you covered with everything you need to know about planting 25 beginning-friendly seeds. From proper planting techniques to growing conditions to harvesting tips use this bundle to help you get your garden growing.
This project was made possible by a grant from OXO.These delicious crunchy collard wraps make the perfect meal!
Make this delicious zucchini bread at home, using a recipe from home garden recipient Sherry Walker.
This radish ranch dip is perfect for your next gathering!
Try this delicious Asian chicken lettuce wrap recipe!
Try this delicious roasted lemon basil asparagus recipe!
Weeding and thinning your garden.
This Native American Heritage Day, take a moment to celebrate and acknowledge the rich cultural traditions and impact of indigenous people. Browse through this reading list of books that reflect the importance and history of indigenous culture.
As the weather turns cooler, it’s time to break out the cozy fall and winter recipes! This Roasted Butternut Squash Queso recipe from Food52 is a fan favorite - follow along for a delicious, cheesy treat!
Find slides and workbooks from the Annual 2024 sessions here.